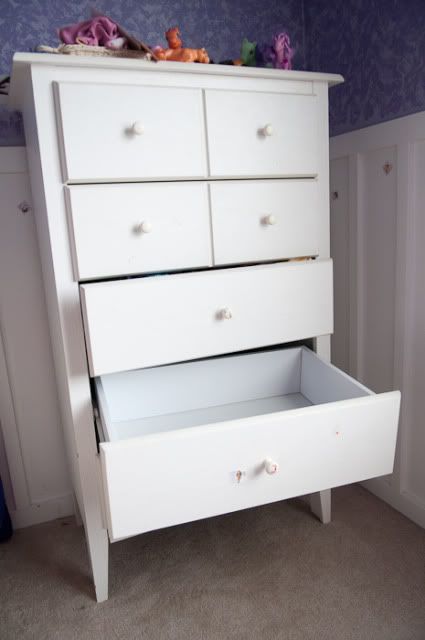
I'm so excited to tell you all about my latest project! It all started with this dresser:
This dresser is a cheap piece of crap from WalMart or Kmart, I can't remember. It's one of those fake-wood cheap dressers. I've had it for years, but my kids have done a number on the drawers after climbing in them and bending the heck out of the slider thingys. The two bottom drawers won't open once you shut them. The third drawer won't close all the way. You get the idea.
I'm in a nesting mood, trying to get things ready for the new baby. I need new dressers for my girls! (We have another cheap one which we're having the same problems with. The drawers have broken out the bottom, etc.)
So last week, I started to look on KSL for a nice solid-wood dresser. I only found ugly ones, or really cute EXPENSIVE ones. Then, I remembered my SIL, Brianna, re-did some furniture. And all of the sudden, I was determined to buy a crappy dresser for cheap, then fix it up cute, just how I wanted it!
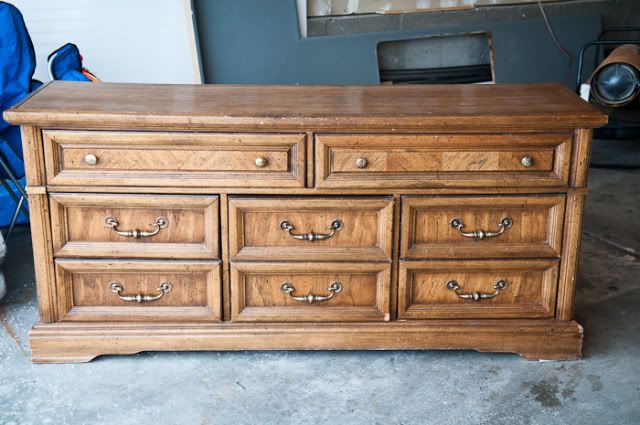
So Brianna directed me to AllThingsThrifty.com, and VintageRevivals.blogspot.com. I read those blogs for a couple of hours probably, and immediately started shopping on KSL. That day, I found this beauty (below) for $70. (Looking back, I bet he would have taken less, but I didn't even ask).
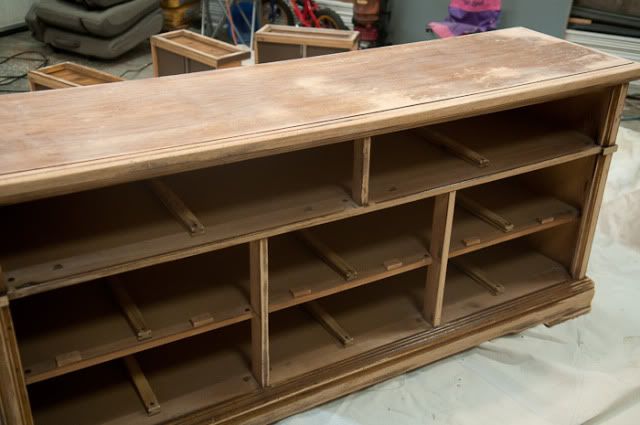
It's solid wood, in good condition. Just kind of ugly. So first, I took out the hardware and sanded down the worst of the scratches.
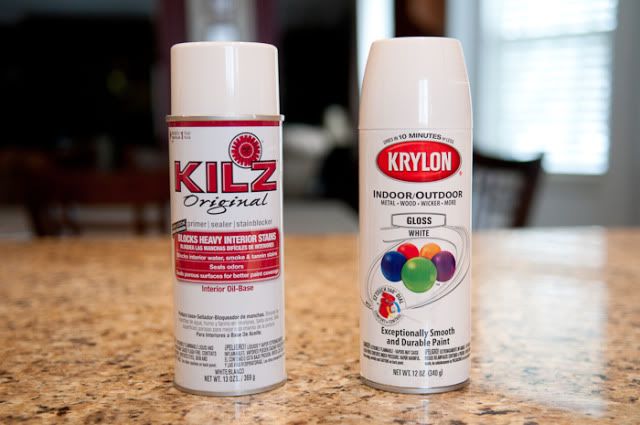
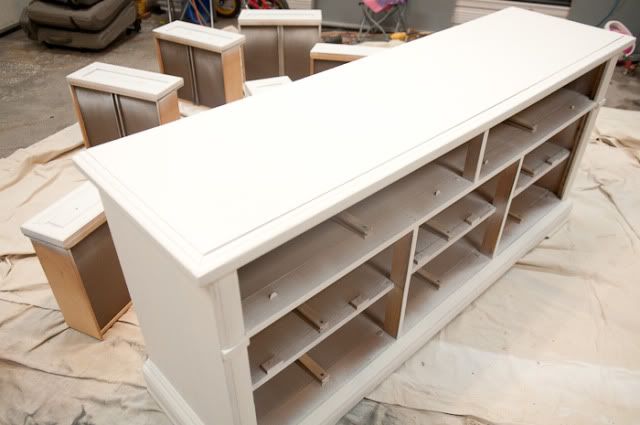
This is what it looked like after a couple of coats of primer. And the paint was just plain ol' white.
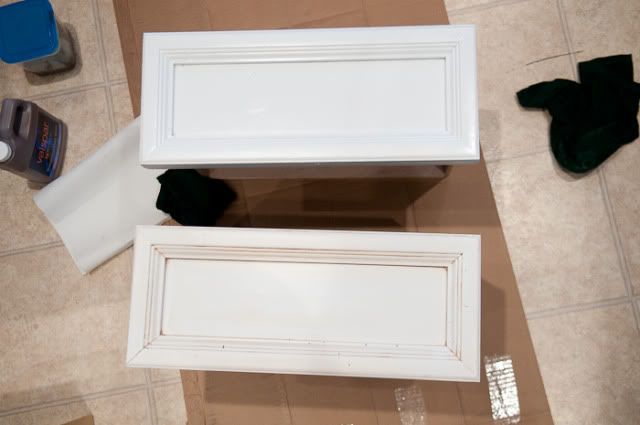
These are 2 drawers, the one on top is just with white paint, and the one on bottom is after I added the glaze.
It was easy, and I had fun doing it! You just paint the glaze on, then wipe it off. I only did one coat. I liked the way it looked!
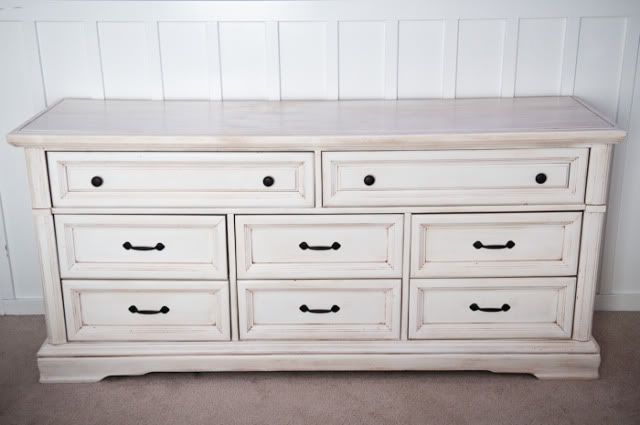
I purchased new hardware, and voila!! I've created a beautiful new solid-wood dresser!
Isn't it gorgeous?
I have also purchased another dresser and a desk that I plan to re-finish. I'm also going to re-paint our crib! I'm having so much fun. :)






15 comments:
I already told you on FB but I will tell you again, it looks awesome! I really like it. Have fun doing more!
I love it, you did a wonderful job! I think I will use that glaze for the bed we are making...I like the look it gives it.
Great job! Looks amazing!
Very cute! I love the hardware! I really think this is the best way to go! We bought a cute little vintage dresser/cabinet thing when Carter was a baby and painted it black to match his crib. It's held up all this time better than anything we could have bought from the "box store". They just don't make them like they used to! I have an antique dresser with curvy front waiting in the garage to be done, Scott's mom passed it to us a year and half ago, but I've had no place to put it in this house until the basement is finished! I can't wait to get it done and start enjoying it!
I have to say- I like yours a lot better than the burn your eyes out HOT PINK one that the girl from that blog posted last week... I think the color of yours is really nice, it looks like it wanted to look like that all along!
Love it, Tia - good job! Thanks for detailing all the steps. I've been wanting to refinish a bunch of our old and scratched furniture, but haven't had the guts. You gave me some motivation.
Wow I love it! I just bought a huge vintage bedroom set for my daughters room that I am going to refinish.
I am curious as to how many cans of primer and white it took? I am trying to gage the cost to spray verses a can of paint for my daughters set.
Bravo! Its just beautiful - I love bringing old things back to life like that.
Jennifer, thanks for the compliment! I believe it took 2-3 cans of primer and 2-3 cans of paint. I did 3 coats of each. I just posted about a desk I painted, and it took about 1 1/2 cans of primer and 1 1/2 cans of paint to finish that one.
Good luck!
That looks so unbelieveable!!! I have solid wood, quality made bedroom furniture that is similar in style & age to your dresser though a bit carvier (is that a word?) I dislike though I've been thankful it was given to us for free. I keep seeing these makeovers like yours...it's almost convinced me to repaint it first rather than find something different. It would look awesome being distressed with all the nooks and crannies. Now to convince my husband it's a great idea...
So BEAUTIFUL! Thank you so much for sharing your creation! I am also in the process of painting my daughter's crib and dresser and this was exactly what I wanted to do! Just had no clue how! Please share pictures of the crib when it's complete....:)
Wow Tia- I just found your blog and that dresser is out-of-this-world AMAZING! Kudos to you and thanks for all the pics! I can't wait to try this myself!
I just redid an old ugly dresser too! Isn't it amazing what a coat of white paint will do? Yours turned out awesome~
I am so excited to try this! You have made me so happy about my future DIY projects! You make it seem so easy! Thanks for sharing!
Hello, I love it! I have a similar dresser, but I need to cover some holes and I was wondering if you had any suggestions? Also, how has the wear and tear been affecting the dresser's new paint? Where did you get your hardware from? Thank you!
Hello, I love it! I have a similar dresser, but I need to cover some holes and I was wondering if you had any suggestions? Also, how has the wear and tear been affecting the dresser's new paint? Where did you get your hardware from? Thank you!
Hi Shelley! To cover the holes, just use wood putty. Fill it in, let it dry, and sand it down before you paint. The paint has been holding up wonderfully on this piece of furniture, but others I have done have chipped a little, and I should have done some sort of clear coat to protect it better. And I purchased the hardware from Lowe's. ;)
Post a Comment